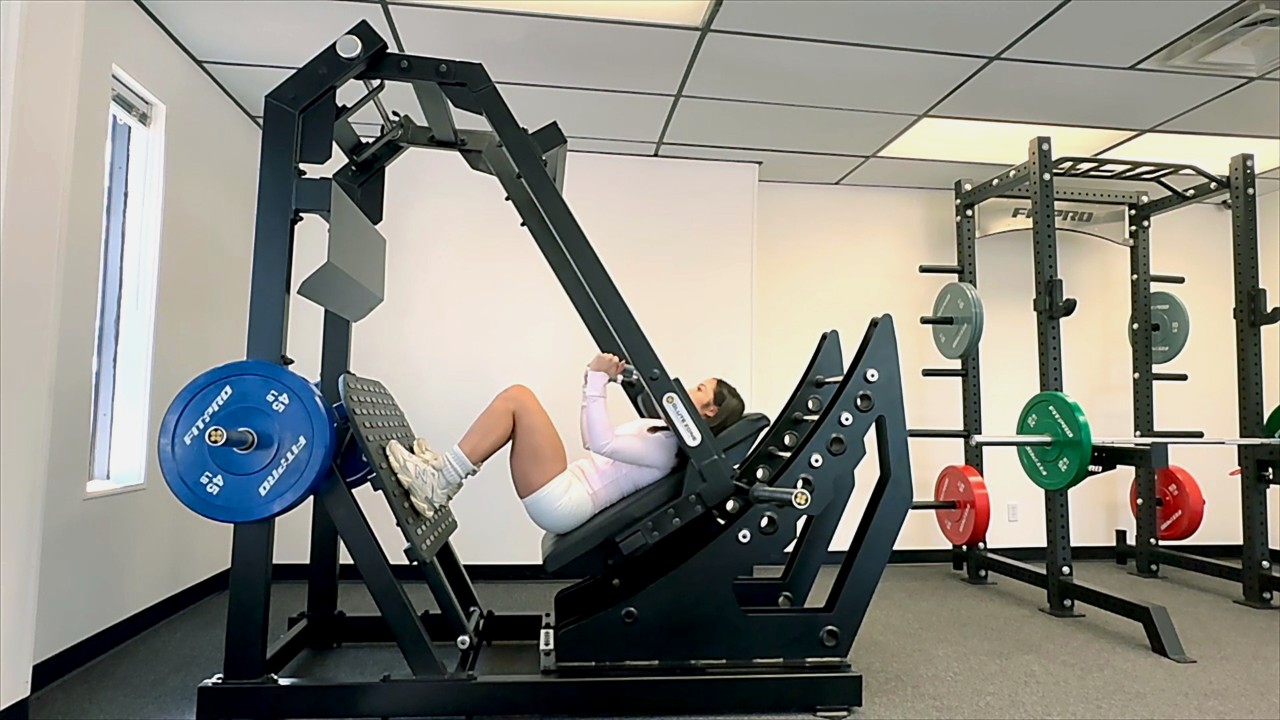



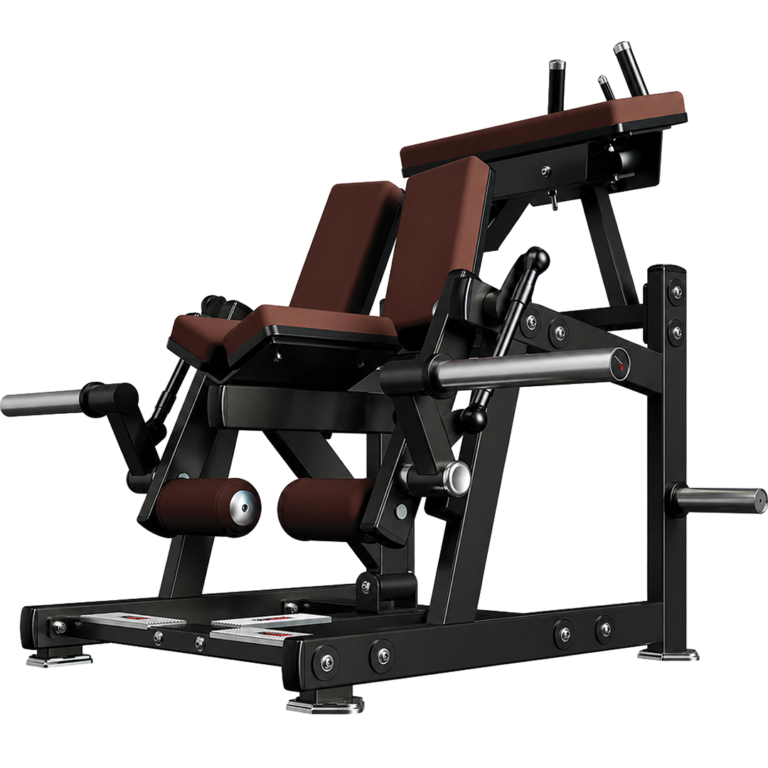
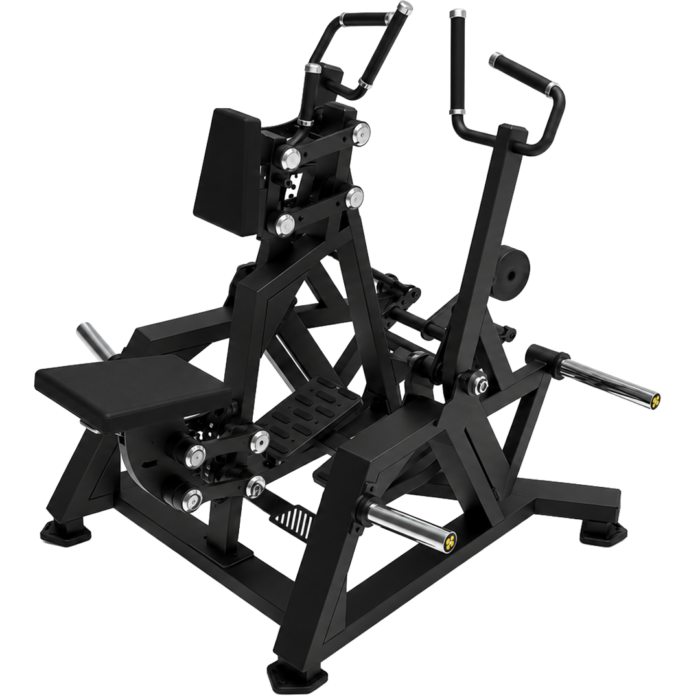
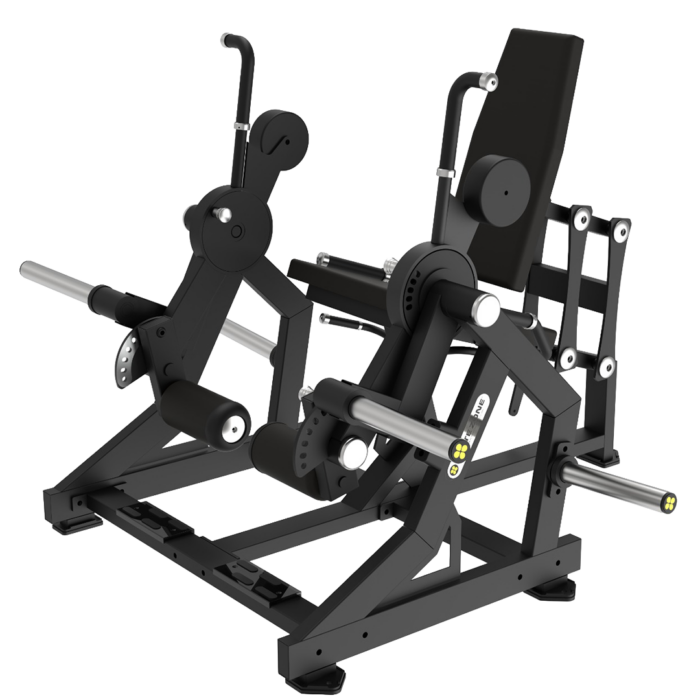
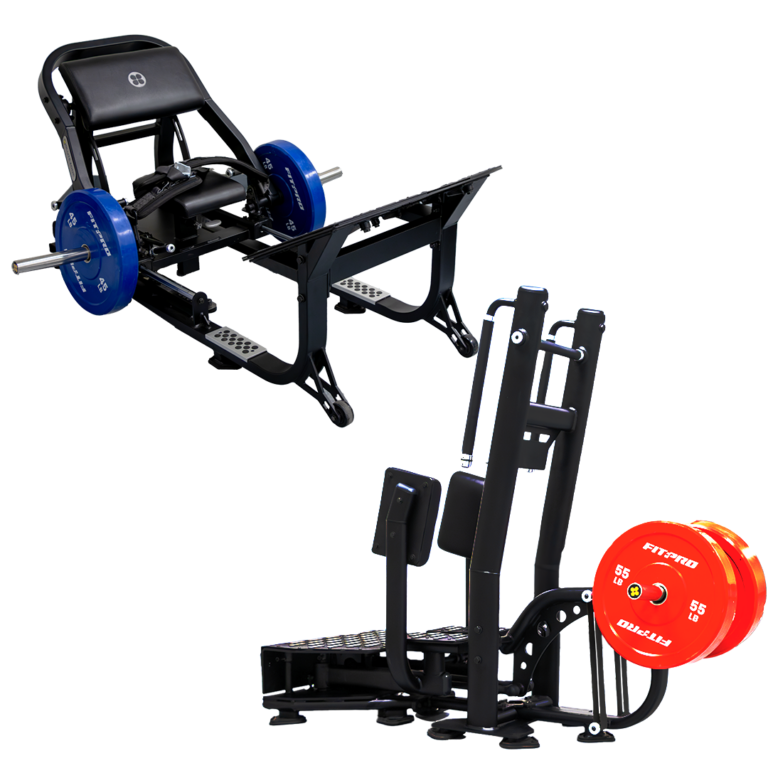
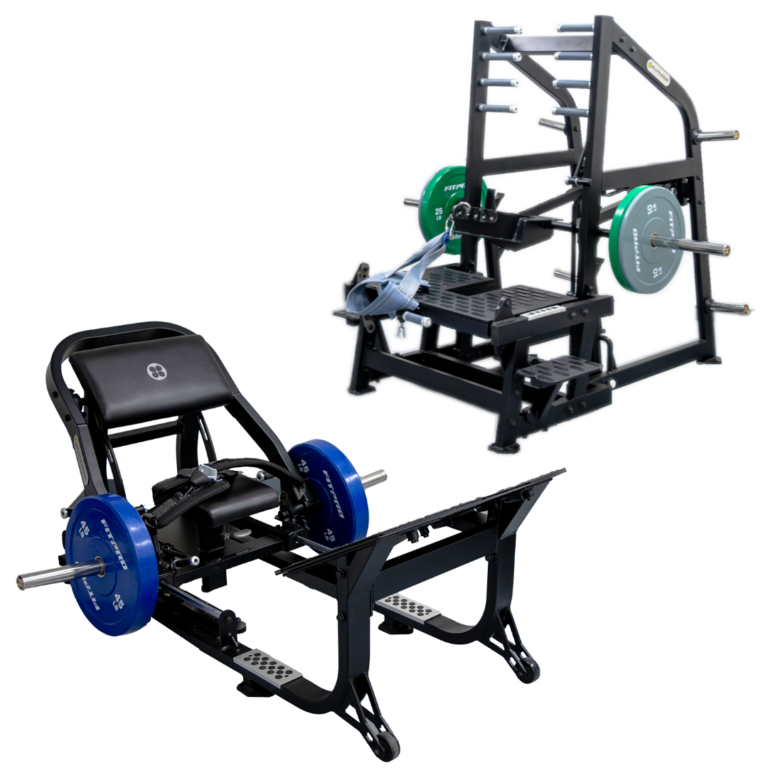




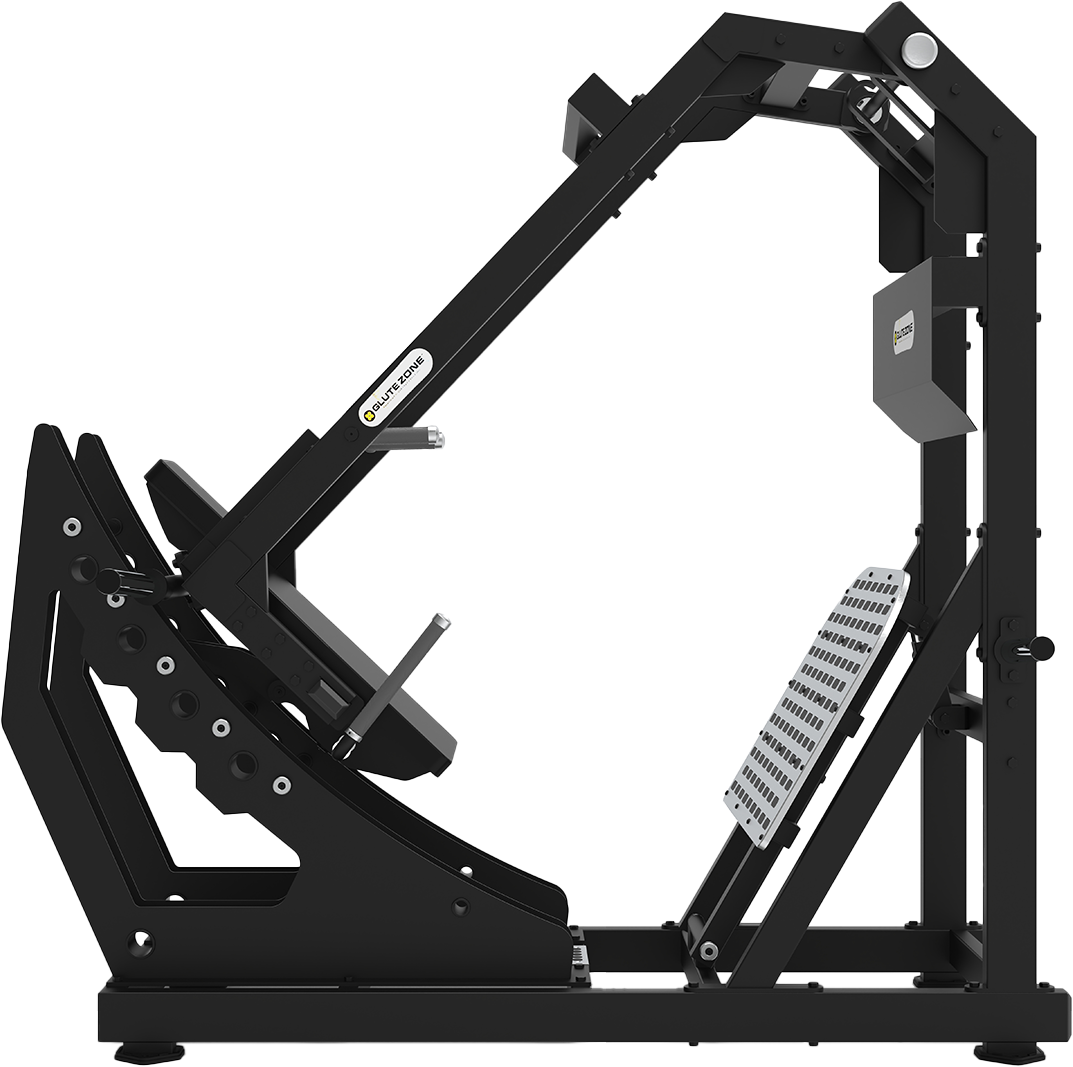
Walk into any serious leg room today and you will find a machine that looks like a catapult with a weight horn. The pendulum squat has gone from a rare specialty piece to a must-have in commercial gyms, and members line up for it. But most people climb on, pick a random foot position, bounce through half reps, and walk away having used a fraction of what the machine can do.
That is a shame, because the pendulum squat is one of the most adjustable lower-body machines ever built. Three levers control almost everything about the lift: where you put your feet, how deep you go, and the angle of the back pad. Dial in all three and the same machine becomes a quad builder, a glute developer, and a knee-friendly squat alternative for members who cannot tolerate a barbell.
This is the masterclass. We will cover the swing motion that makes this machine different (if you missed our breakdown, read Pendulum Squat vs. Hack Squat: Which Builds Stronger Glutes?), then go lever by lever: foot placement, depth, and back pad angles. Every claim below is backed by a real source, listed at the end.
What Makes the Pendulum Squat Different: The Swing Motion
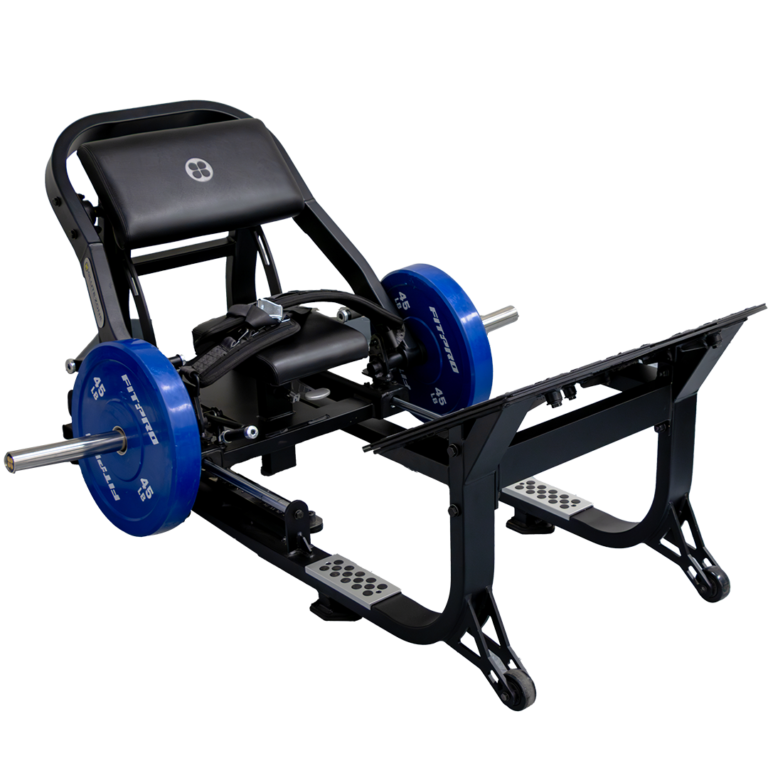
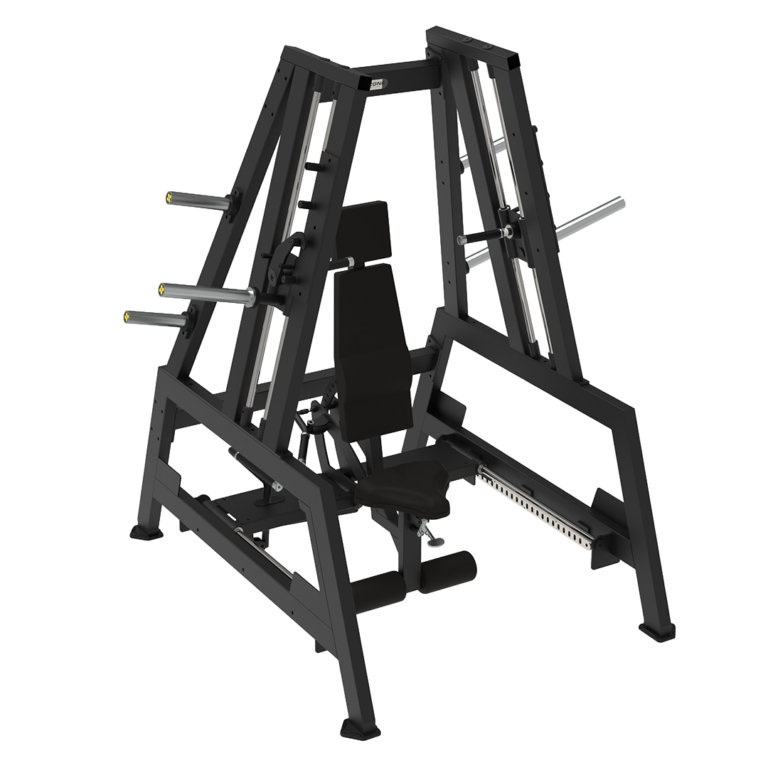
A hack squat moves you up and down on a fixed diagonal track. A pendulum squat swings you through an arc, like the pendulum it is named after. That arc changes the resistance curve through the rep: the load feels heaviest where your leverage is weakest, which keeps tension on the working muscles through more of the range of motion.
That swing is also why coaches classify the pendulum squat as a quad-dominant movement. As Tom’s Guide notes, the arcing path hits the quads with less help from the glutes and hamstrings than a hack squat’s vertical descent. Bret Contreras has made the same point: the pendulum loads the quads hard through positions of the range that free-weight squats barely touch.
Quad-dominant does not mean the glutes get nothing. It means the default setting favors quads, and your setup choices decide how much work shifts toward the posterior chain. That is exactly what the three levers are for.
Lever 1: Foot Placement, Your Most Powerful Targeting Dial
If you change one thing about your pendulum squat, make it this. Foot placement is the fastest way to change which muscles do the work.
The rule of thumb: the further forward (higher) you place your feet on the platform, the more emphasis shifts to the glutes and hamstrings. The deeper you squat with your feet narrower and lower on the platform, the harder your quads work. Feet high and wide: posterior chain. Feet low and narrow: quads.
Foot placement also affects your knees. A 2025 study in BMC Sports Science, Medicine and Rehabilitation measured knee adduction moment (a proxy for medial knee loading) across stance widths. Widening the stance from 1x to 1.5x shoulder width dropped the average from 7.58 to 4.24 Nm/kg. In plain language: a wider stance meaningfully unloads the inside of the knee. For members with cranky knees, that is a programming tool, not just a comfort tweak.
Dr. Mike Israetel’s pendulum squat cues line up with this: use a full range of motion (cutting depth to pile on plates is the classic ego error), place your feet lower on the platform if you need depth without your back rounding, control the eccentric, and pick the foot position that feels most comfortable for your structure. The position you can load with control is the position that grows muscle.
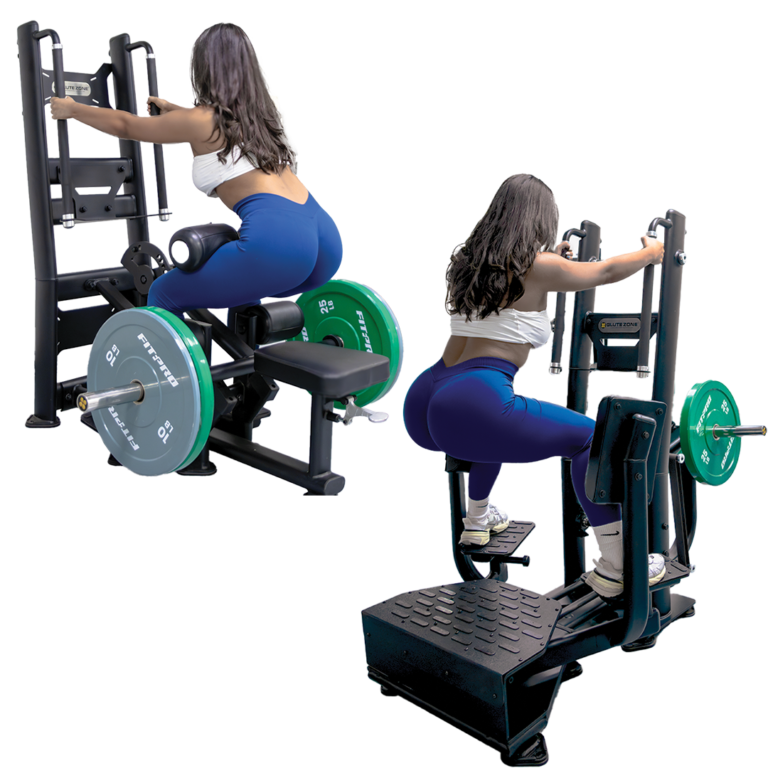
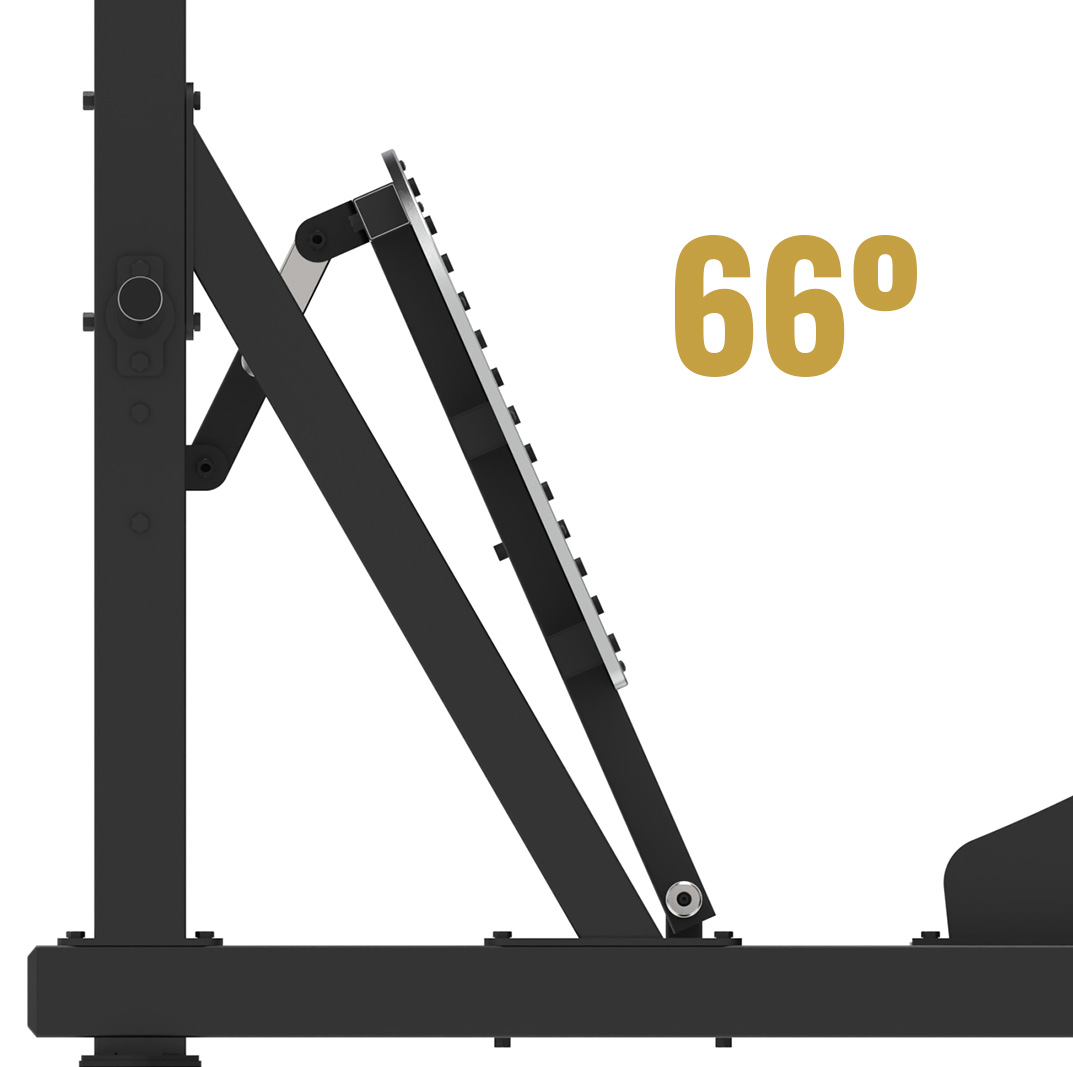
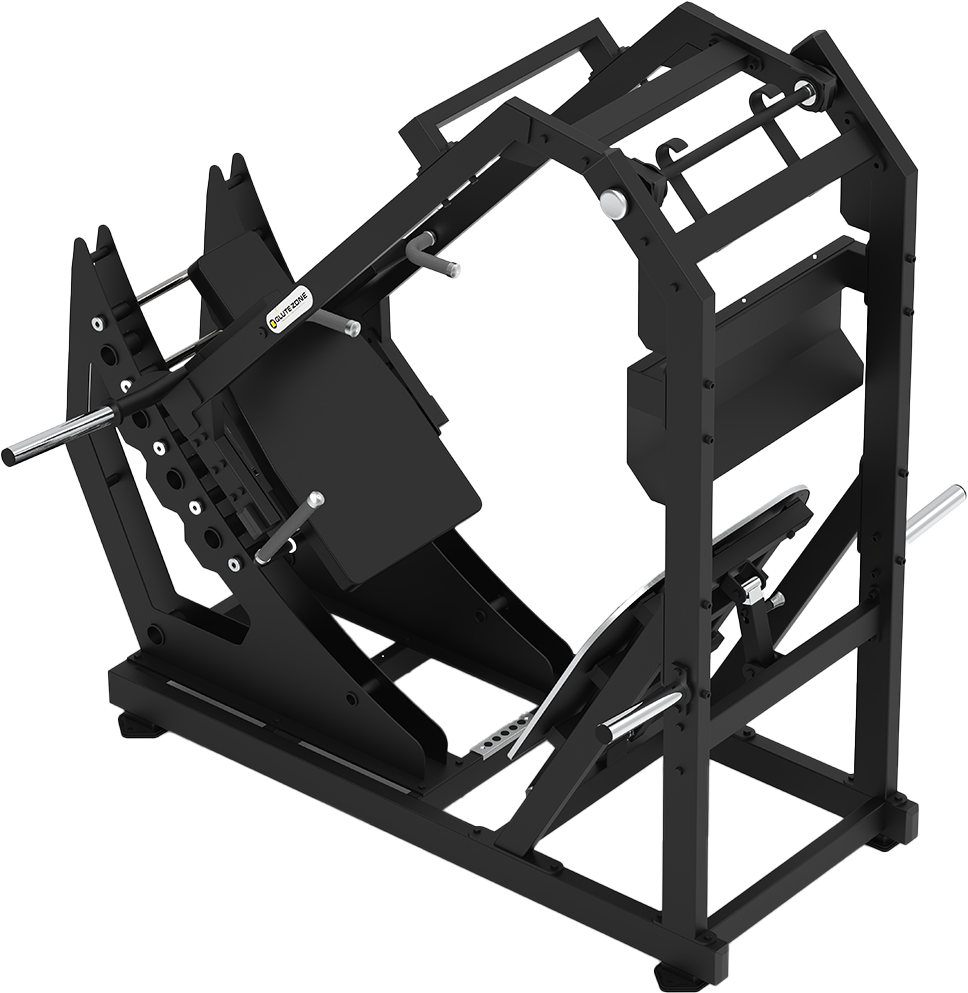
On the GluteZone Pendulum Squat, this lever is built into the hardware. The footplate is multi-position and angle-adjustable, with 3 foot pad angles, so you can set the platform to match the stance you want instead of adapting your body to a fixed plate. When you coach a member through their first session, set the plate angle first, then find their foot position: the plate angle sets the ankle geometry, and the foot position sets the muscle emphasis.
Lever 2: How Deep Should You Squat? Depth, Glute Activation, and Knee Comfort
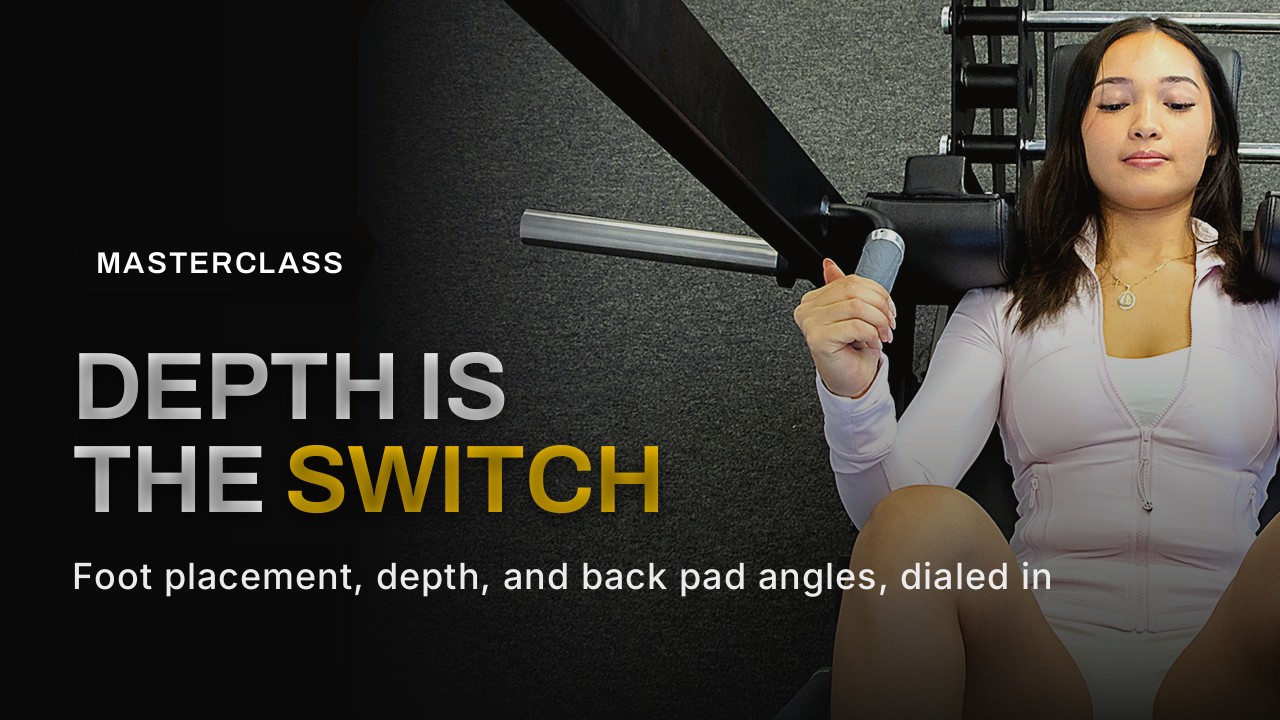
Depth is the switch. The research on squat depth and muscle growth is some of the clearest in all of exercise science, and it favors going deep.
Kubo and colleagues compared full squats (0 to 140 degrees of knee flexion) against half squats (0 to 90 degrees) over 10 weeks. The full-depth group gained 7 percent in gluteus maximus size versus 2 percent for the half-squat group, and 6 percent versus 3 percent in the adductors. The quads grew well in both groups. The takeaway: your quads grow even with moderate depth, but your glutes and adductors need the deep end of the range.
Bloomquist’s team found the same pattern over 12 weeks: deep squats (0 to 120 degrees) increased muscle cross-sectional area by about 6 percent on average across all measured sites, while shallow squats (0 to 60 degrees) improved only 2 of 6 sites. Depth is not a style choice. It is a growth variable.
That does not mean every member should chase maximum depth on day one. Earn depth with control: start with a range you can own on the eccentric, then expand it over weeks. The guided arc makes this safer than a free barbell, because the machine handles your balance while you focus on the muscles. And for members worried about their knees, remember the stance finding above: go a little wider, and the medial knee load drops.
This is where the GluteZone machine’s 5 back lock positions earn their keep. Set a lock position that matches the depth a member can currently control, and the machine enforces it rep after rep. As mobility and strength improve, move the lock deeper. For a gym owner, that is a coaching system built into the equipment: consistent, repeatable depth standards across every member who touches the machine.
7%
Gluteus maximus growth: full squat vs half squat, 10 weeks (Kubo et al.)
4.24 Nm/kg
Medial knee load, wide vs narrow stance (BMC Sports Sci Med Rehabil, 2025)
+6%
Average muscle size gain, deep squat 12 weeks (Bloomquist et al.)
Lever 3: Back Pad Angles and Torso Position
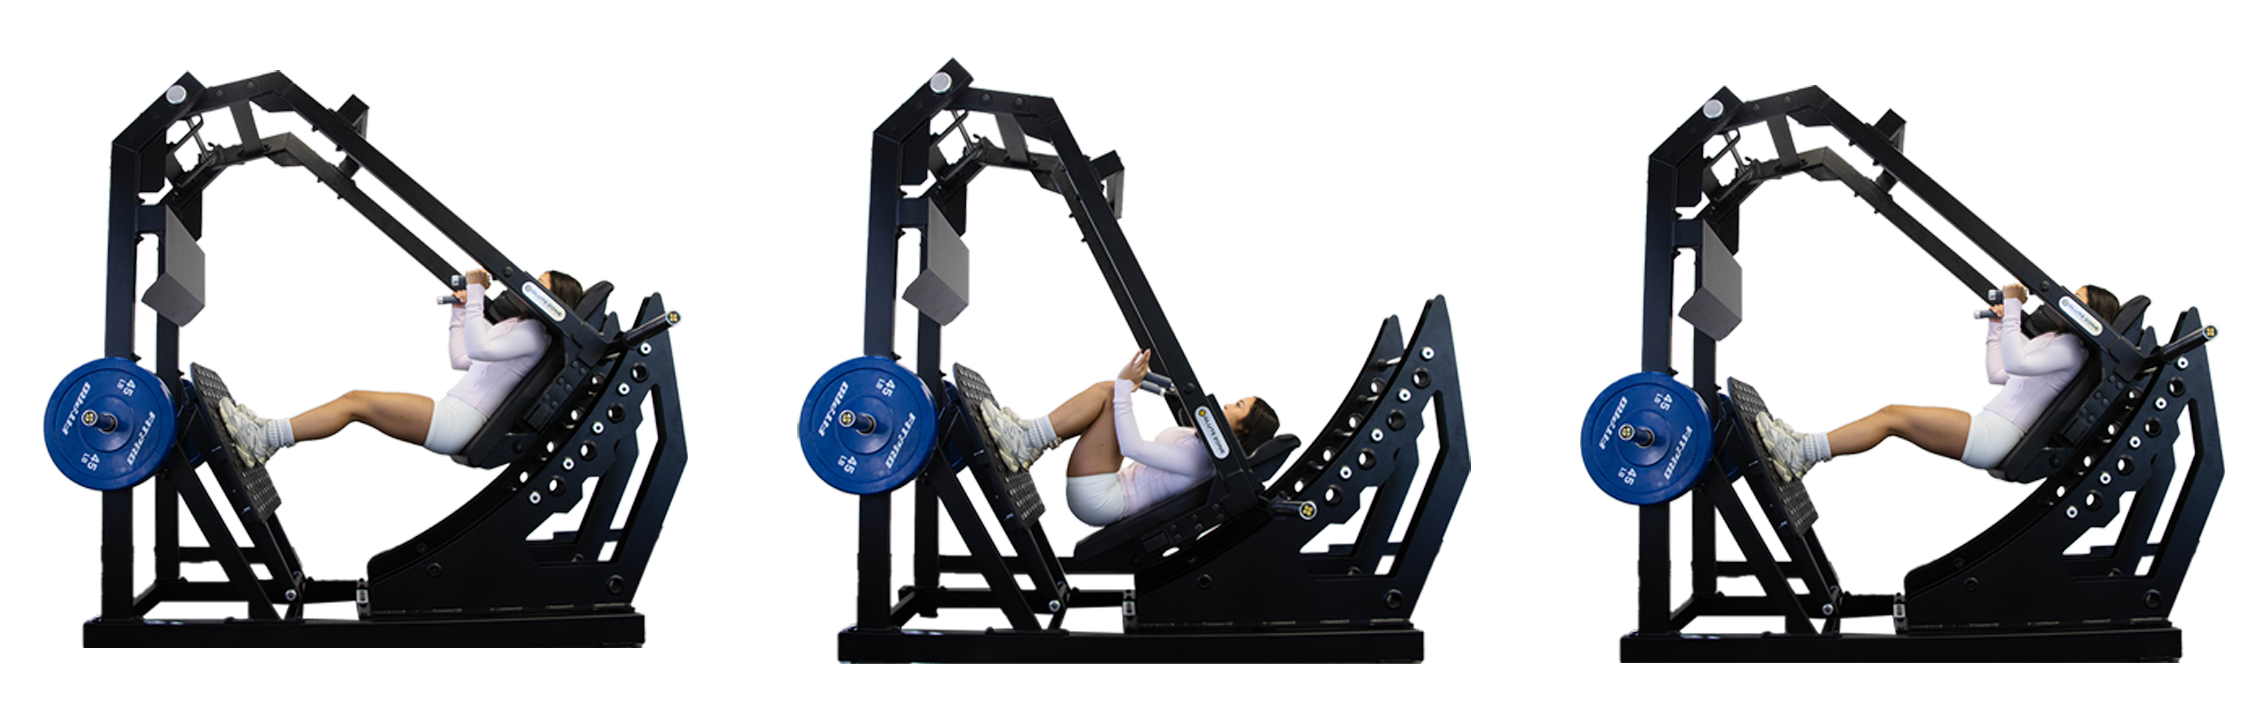
The back pad is the lever most people never touch, which is ironic because it sets up everything else. The pad angle determines your torso angle, and your torso angle determines how much hip extension versus knee extension each rep demands.
The setup sequence:
- Set the back pad so it supports your mid-back with the lumbar pad filling the small of your back. On the GluteZone Pendulum Squat, the backrest is wide with dedicated lumbar support, so most lifters find their slot in seconds.
- Sit in and check your heels. If they lift at the bottom, the pad is too upright for your ankle mobility: recline it a notch or widen your stance.
- Grip the side handles, brace your core, and unrack by extending your knees.
- Descend with control, back flat against the pad. The dual-arm guided system keeps the path honest with no lateral wobble, even under heavy loads.
The cue for torso position: the more upright your torso, the more knee-dominant the rep feels. A slightly more reclined pad lets the hips sit back into the arc, lengthening the glutes under load at the bottom. Neither is wrong. They are different tools.
One detail that matters for gym owners: the low entry step. It sounds minor until you watch a 5’2″ member or a post-rehab client climb into a machine built for taller athletes. Easy entry means more members actually use the machine, which is the whole point of buying it.
Programming It: A Note for Gym Owners (and Serious Home Gyms)
Teach the three levers in the onboarding. A 90-second walkthrough (plate angle, foot position, lock depth) turns a confusing machine into a favorite. Print the cues on a small placard next to the machine.
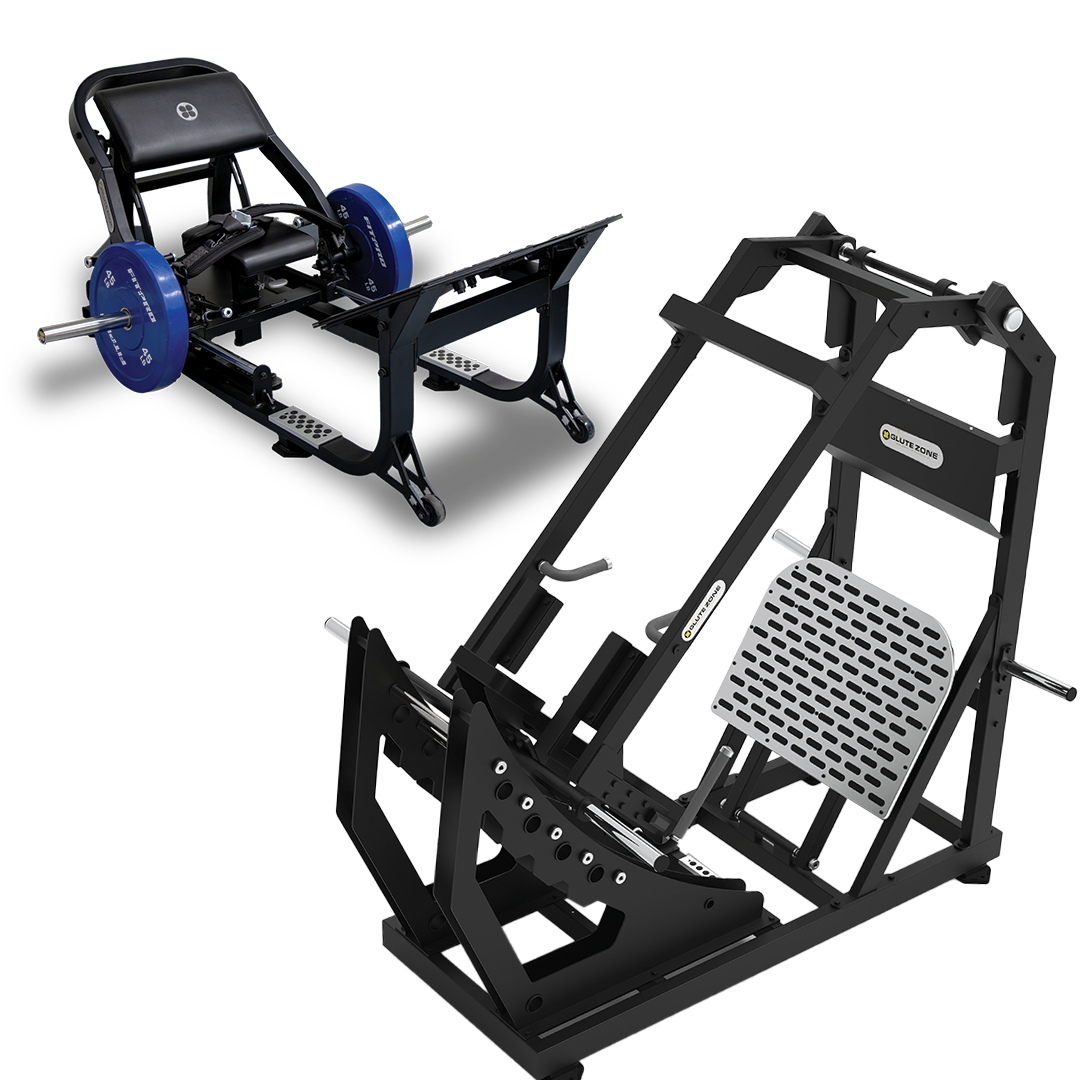
Pair it with a hip thrust. The pendulum squat is quad-dominant by design; the GluteZone Hip Thrust Machine is the glute specialist. Together they cover the entire lower-body force curve: deep knee and hip flexion under load on the pendulum, peak glute contraction under load on the hip thrust. That pairing is why we built the Elite Strength Duo: both machines, one glute zone, zero guesswork for your members.
Program it like a main lift. 3 to 4 sets of 8 to 15 reps, twice a week, works for most members. The guided arc removes the balance demand, so lifters can push closer to failure safely than on a barbell squat, which makes it a superb hypertrophy tool.
For home gym buyers: this is a commercial-grade machine with a commercial footprint. If you have the space and train legs seriously, it is the best squat-pattern upgrade for a home gym: the depth and loading of a commercial leg room with no spotter needed.
Quick Answers
It is quad-dominant by design, but higher/wider foot placement plus full depth shifts significant work to the glutes. For dedicated glute work, pair it with hip thrusts.
The guided arc removes balance demands, and research shows a wider stance reduces medial knee loading. Start light, own your depth, and widen your stance if your knees complain.
Yes. The guided path, 5 back lock positions, and low entry step make it one of the most approachable heavy leg machines for new lifters.
The pendulum swings through an arc instead of sliding on a fixed diagonal track, changing the resistance curve. Full breakdown in Pendulum Squat vs. Hack Squat.
The Bottom Line
Most pendulum squats in commercial gyms are underused because nobody teaches the setup. Foot placement aims the work, depth grows it, and the back pad makes both possible. Spend one session dialing in all three and the machine pays you back on every rep after.
Ready to give your members a pendulum squat worth lining up for?
The GluteZone Pendulum Squat (Double Support, Commercial Grade) is in stock now at $3,999, with configuration options from Essential Starter to Pro-Fitness Arsenal. And with Affirm financing, you can split the investment into manageable monthly payments instead of one big check.
Sources
1. Tom’s Guide, “You Don’t Need Heavy Barbell Squats to Strengthen Your Quads, Glutes and Hamstrings, Try the Pendulum Squat Instead” (2025). tomsguide.com
2. Dr. Mike Israetel, Renaissance Periodization, pendulum squat coaching cues (video). tiktok.com
3. BMC Sports Science, Medicine and Rehabilitation (2025), stance width and knee adduction moment during squatting. link.springer.com
4. Muscle & Fitness, “Best Squat Depth for Muscle Growth” (2026), covering Kubo et al. muscleandfitness.com
5. Ribeiro et al. (2022), “A Brief Review on the Effects of the Squat Exercise on Lower-Limb Muscle Hypertrophy,” Strength and Conditioning Journal (via Scribd). scribd.com
6. Bret Contreras on Mind Pump #2155, “The Art & Science of Building Perfect Butts” (transcript via Podscripts); see also Menno Henselmans’ summary. podscripts.co and mennohenselmans.com