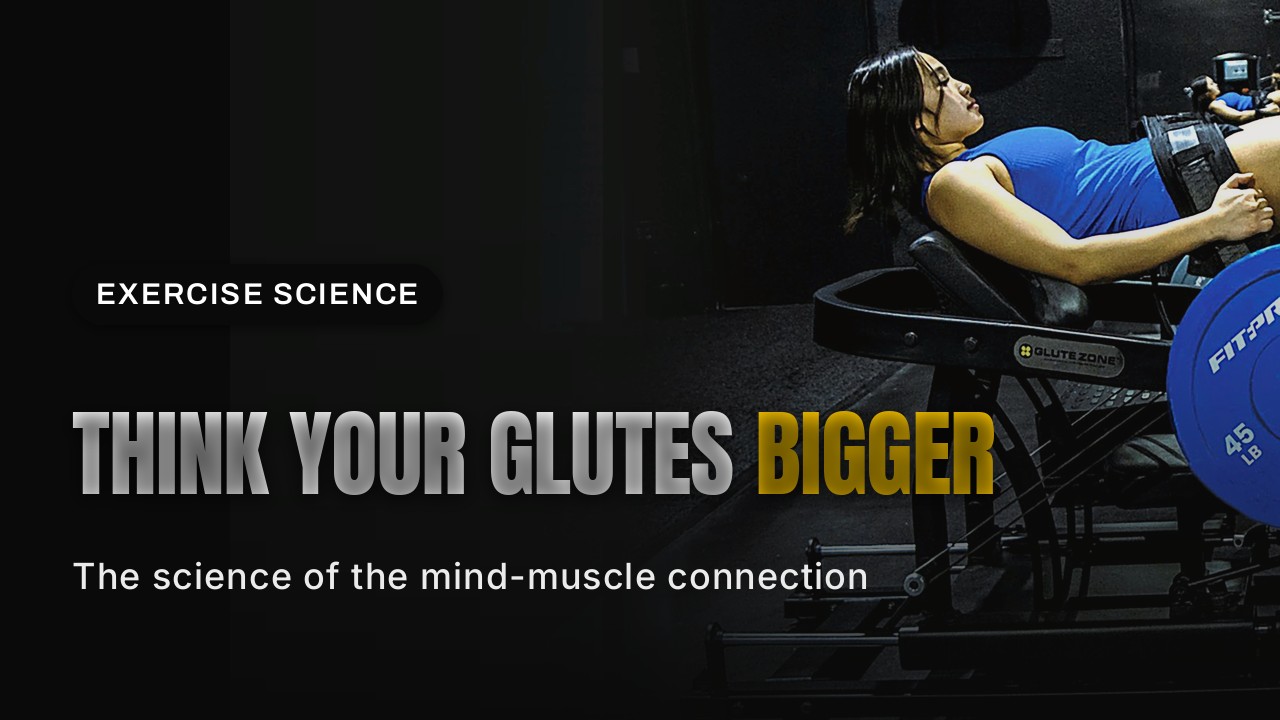
Walk through any gym and you’ll see it: lifters loading four plates a side onto a hip thrust machine they never bothered to adjust. The seat rail sits exactly where the last person left it — which is almost never where it should be for the person climbing in now. Then they wonder why their lower back aches, why their knees feel weird, and why their glutes aren’t growing.
The hip thrust is one of the most effective glute builders ever measured — in published EMG research, barbell hip thrusts produced roughly double the gluteus maximus activation of back squats. But here’s the part nobody talks about: that data came from people who set the movement up correctly. The machine only works as well as you fit it to your body.
This is the complete guide to dialing in the GluteZone Hip Thrust Machine — every adjustment, in the order that matters, for lifters from 5’0″ to 6’6″. Gym owners: pin this to your glute zone. Home gym lifters: bookmark it.
Why Setup Is the Whole Game
A hip thrust machine isn’t a “sit down and push” contraption. It’s a precision tool. Three contact points decide everything: where your back pivots, where the belt loads your hips, and where your feet anchor. Get one wrong and the load leaks somewhere it shouldn’t — into your knees, your lower back, or your quads. Get all three right and the resistance lands squarely on the gluteus maximus, the largest muscle in your body.
Bret Contreras — the researcher who literally wrote the book on hip thrusting — has shown that bench height between 13 and 19 inches covers about 99% of lifters, with 16 inches being the sweet spot. On a machine, that height is engineered for you; what YOU control is the seat position, the belt, and foot placement. That’s what we’re dialing in today.
Know Your Machine First
Before touching a pin, know what you’re working with. The GluteZone Hip Thrust Machine is built commercial-grade for high-traffic gyms, with specs that tell you how seriously it takes adjustability:
- ✔ 16-point forward/backward adjustable seat — the headline feature of this guide, and the reason one machine genuinely fits members of all heights.
- ✔ 550 lbs of plate capacity on commercial-grade steel horns — room for everyone from beginners to elite athletes.
- ✔ ~357 lbs machine weight with 2 front wheels — stable under load, movable when the floor needs re-arranging.
- ✔ Plate-loaded with optional resistance bands — band pegs let you add accommodating resistance for lockout work.
- ✔ Anchor-hole ports on each foot — bolt it to the floor for maximum stability during heavy lifts.
Every number above is straight from the current product page. If a member ever asks whether this machine can handle their training, now you have the answer.
Step 1: Set the Seat to Your Leg Length (The 16 Positions)
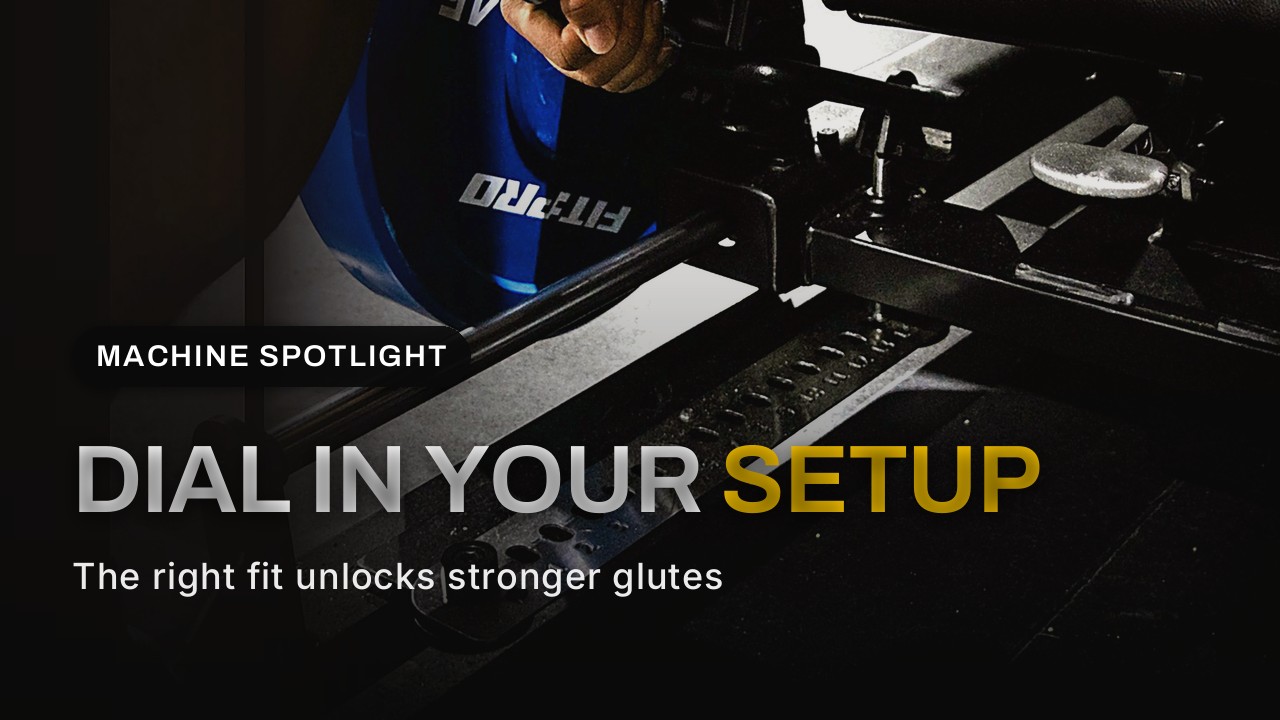
This is the adjustment almost everyone skips — and the one that matters most. The seat slides forward and backward across 16 detents, changing the distance between your hips and the foot platform. Why it matters: that distance determines your knee angle at lockout, and knee angle determines which muscles do the work.
THE CALIBRATION RULE
At full hip extension, your knees should form a 90° angle, with shins vertical. That’s the position research keeps coming back to — GluteZone’s own setup guidance and Contreras’s coaching both land on it.
- Sit in the machine empty (no load) and slide the seat to the middle detent.
- Place your feet flat on the platform, roughly shoulder-width apart.
- Drive your hips up to full extension and look at your shins. Vertical shins and 90° knees? You’re set.
- Knees bent past 90° (shins angled back toward you)? You’re too close to the platform — slide the seat back one or two detents.
- Knees nearly straight at the top? You’re too far — slide the seat forward until you hit 90°.
Shorter lifters (under ~5’4″) will typically end up toward the forward positions; taller lifters (over ~6’0″) toward the rear. The beauty of 16 detents instead of 3 or 4 is that there’s no “close enough” — there’s a notch for your exact leg length. Members who share a machine should re-check this in about ten seconds flat once they know their number. Gym owners: consider a little laminated card on the machine — “Position 6 = 5’6″, Position 10 = 6’0″” — once you’ve mapped your most common member heights.
Step 2: Place the Belt Where It Belongs
The belt should sit just below your hip bones, at the crease of your hips. Not across your stomach — that’s how you turn a glute exercise into an ab-crunch contest you didn’t sign up for. Not too low on the thighs either, or you lose the direct line of force into the pelvis.
The padded belt is wide by design: it spreads the load across the hips so heavy sets don’t feel like a seatbelt in a fender bender. Cinch it snug before your first rep. If you’re programming bands for accommodating resistance, attach them to the band pegs after the belt is set — the band tension should engage in the top third of the movement, where the glutes are at peak contraction.
Step 3: Foot Placement Is a Dial, Not a Default
Feet flat on the platform, roughly shoulder-width apart, toes straight ahead or slightly turned out. That’s the default — and the research says it’s the right one for pure glute work. But foot position is also your fine-tuning dial, and here’s what published EMG data actually shows:
- 📍 Feet under the knees (the default): the gluteus maximus does the heavy lifting — one EMG study measured 86.18% MVIC in the glute max with this position.
- 📍 Feet placed further forward: hamstring recruitment climbs (biceps femoris and semitendinosus) while quad activity drops. Useful for posterior-chain variety, but it’s no longer a pure glute movement.
A systematic review of hip thrust EMG research found mean gluteus maximus activation ranging from 55–105% MVIC depending on load and setup — the range is wide precisely because setup variables change the outcome. Which brings us back to the point: the machine’s adjustability isn’t a luxury feature. It’s what lets you land at the top of that range.
For home gym lifters: your feet don’t move during the set — the machine’s foot platform is fixed, so once you’ve found your seat position and stance width, it’s repeatable every single session. Write your detent number on your programming sheet. Consistency is progressive overload’s quiet partner.
Step 4: Load It Like You Mean It
With 550 lbs of plate capacity on the horns, the machine outruns almost everyone who uses it — which is exactly the point in a commercial setting. Your strongest member and your newest member use the same machine, months apart, with zero compromise.
Programming guidance from the GluteZone FAQ: 2–3 hip thrust sessions per week, with at least 48 hours between sessions for recovery. Progress by adding load, adding a pause at lockout, or working single-leg variations — not by rushing the setup. The setup takes 20 seconds; the gains compound for years.
For Gym Owners: Adjustability Is Utilization
Here’s the business case hiding inside a setup guide. Every minute a member spends confused by a machine is a minute they don’t train — and confused members don’t renew. A 16-position seat means your 5’2″ beginner and your 6’4″ powerlifter both get a perfect fit with zero staff intervention. That’s throughput. That’s fewer “how do I use this?” interruptions for your floor team. That’s a machine that stays busy during off-peak hours because nobody’s intimidated by it.
Glute-focused training areas keep pulling members in — operators report glute-specific kit works as a marketing signal, drawing everyone from athletes to general-population lifters. A machine that visibly fits every body type is a machine that sells memberships on the tour.
If you’re building out a dedicated glute zone, the Hip Thrust pairs naturally with the Elite Strength Duo (Hip Thrust + Pendulum Squat in one commercial package) or the full Glute Trinity Bundle for a complete glute training area.
Quick-Reference Checklist
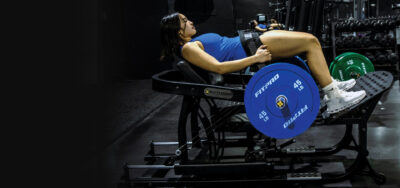
- ✅ Seat position: slide until knees hit 90° with vertical shins at lockout
- ✅ Belt: just below the hip bones, at the crease of the hips — snug, not across the stomach
- ✅ Feet: flat, shoulder-width, under the knees for max glute recruitment
- ✅ Back: pivot at the bottom of the shoulder blades on the pad — don’t let it slide
- ✅ Lockout: full hip extension, pause and squeeze — that’s where the growth signal lives
- ✅ Frequency: 2–3x per week, 48+ hours between sessions
The Bottom Line
Nobody’s glutes ever grew because they bought the fanciest machine. They grew because they set it up right, loaded it heavy, and showed up twice a week for a year. The 16 positions aren’t a spec-sheet flex — they’re 16 chances to get the fit right, for every body that walks through your door. Dial it in once, and the machine does the rest.
Sources
- Bret Contreras — “How to Hip Thrust” (bench height 13–19″, pivot at bottom of shoulder blades, vertical shins at lockout)
- Sci-Sport summary of hip thrust variations EMG study (glute max 86.18% MVIC, feet-under-knees vs feet-forward): sci-sport.com
- Systematic review — “Barbell Hip Thrust, Muscular Activation and Performance” (mean glute max EMG 55–105% MVIC)
- Contreras, Vigotsky, Schoenfeld & Cronin — Journal of Applied Biomechanics 31(6), 2015 (hip thrust vs back squat EMG): journals.humankinetics.com
- GluteZone Hip Thrust Machine — official product page (16-point seat, 550 lbs capacity, ~357 lbs, verified 2026-09-29)
- Health Club Management — operator perspectives on glute-focused equipment demand
Ready to put a perfectly-fitted hip thrust machine on your gym floor?
Ready to put the best hip thrust machine on your floor? We offer flexible financing through Affirm — upgrade your glute zone now and pay over time. Get a quote for your gym today.